Wookie Cookies

A long time ago, in a galaxy far far away….. My niece turned 5, and she was having a Star Wars party. I was asked if I could make a plate of cookies for the party, not just any plate of cookies, but a plate of Wookie cookies! Being a huge Star Wars fan myself I of course said yes.

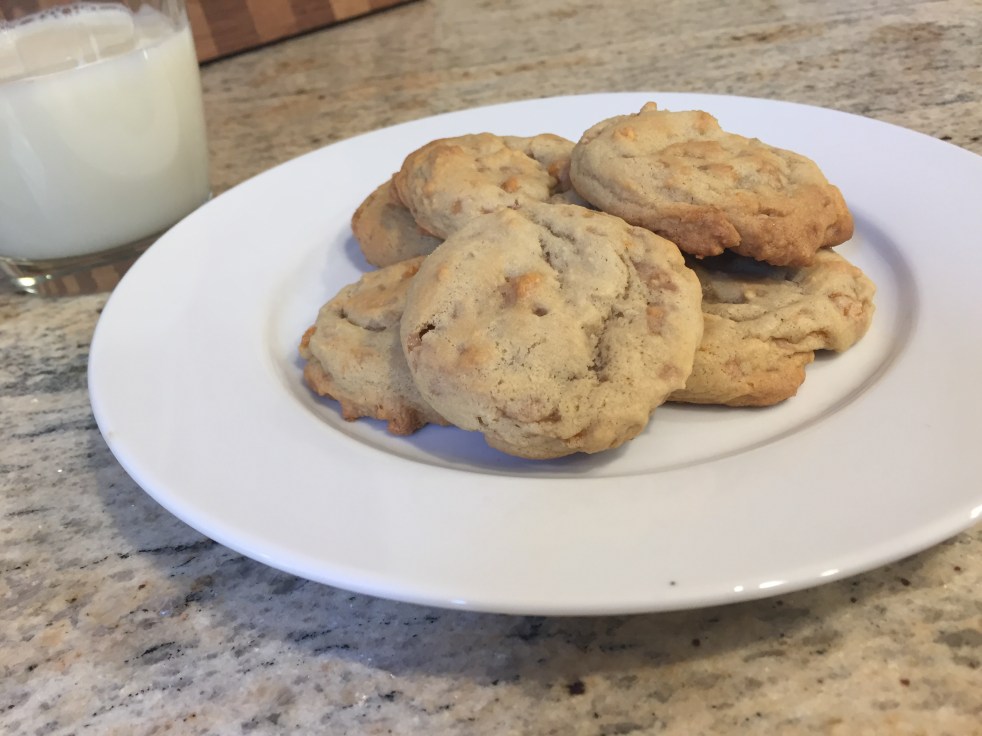
So I baked the normal cookies that I always bake… Chocolate chip, peanut butter, and snickerdoodle. That was all fine, but I wanted to add something extra. Recently I had accidentally purchased a bag of butterscotch chips. I didn’t want them to go to waste so I tried a recipe that I wasn’t too happy with, then I tried another one that I was still on the fence about. After two failures, and realizing how much I enjoyed the butterscotch flavor, I decided to try something else. Behold, the Wookie Cookie! Or butterscotch and toffee cookie… They are delicious, butterscotch chips, toffee bits, fluffy, and soft.They were a huge hit at the Star Wars party, such a hit, that they were gone right away, and now I owe some to a few people. Wookie cookies are now a favorite in my home, and I’m happy to share them with you.

To Start grab your supplies.. I prefer the Heath Bits ‘O Brickle Toffee over the milk chocolate toffee. These cookies are already sweet, and in my opinion the added chocolate is over kill.cookies 8

Add all of your dry ingredients into a small bowl, mix together, and set aside.cookies 7

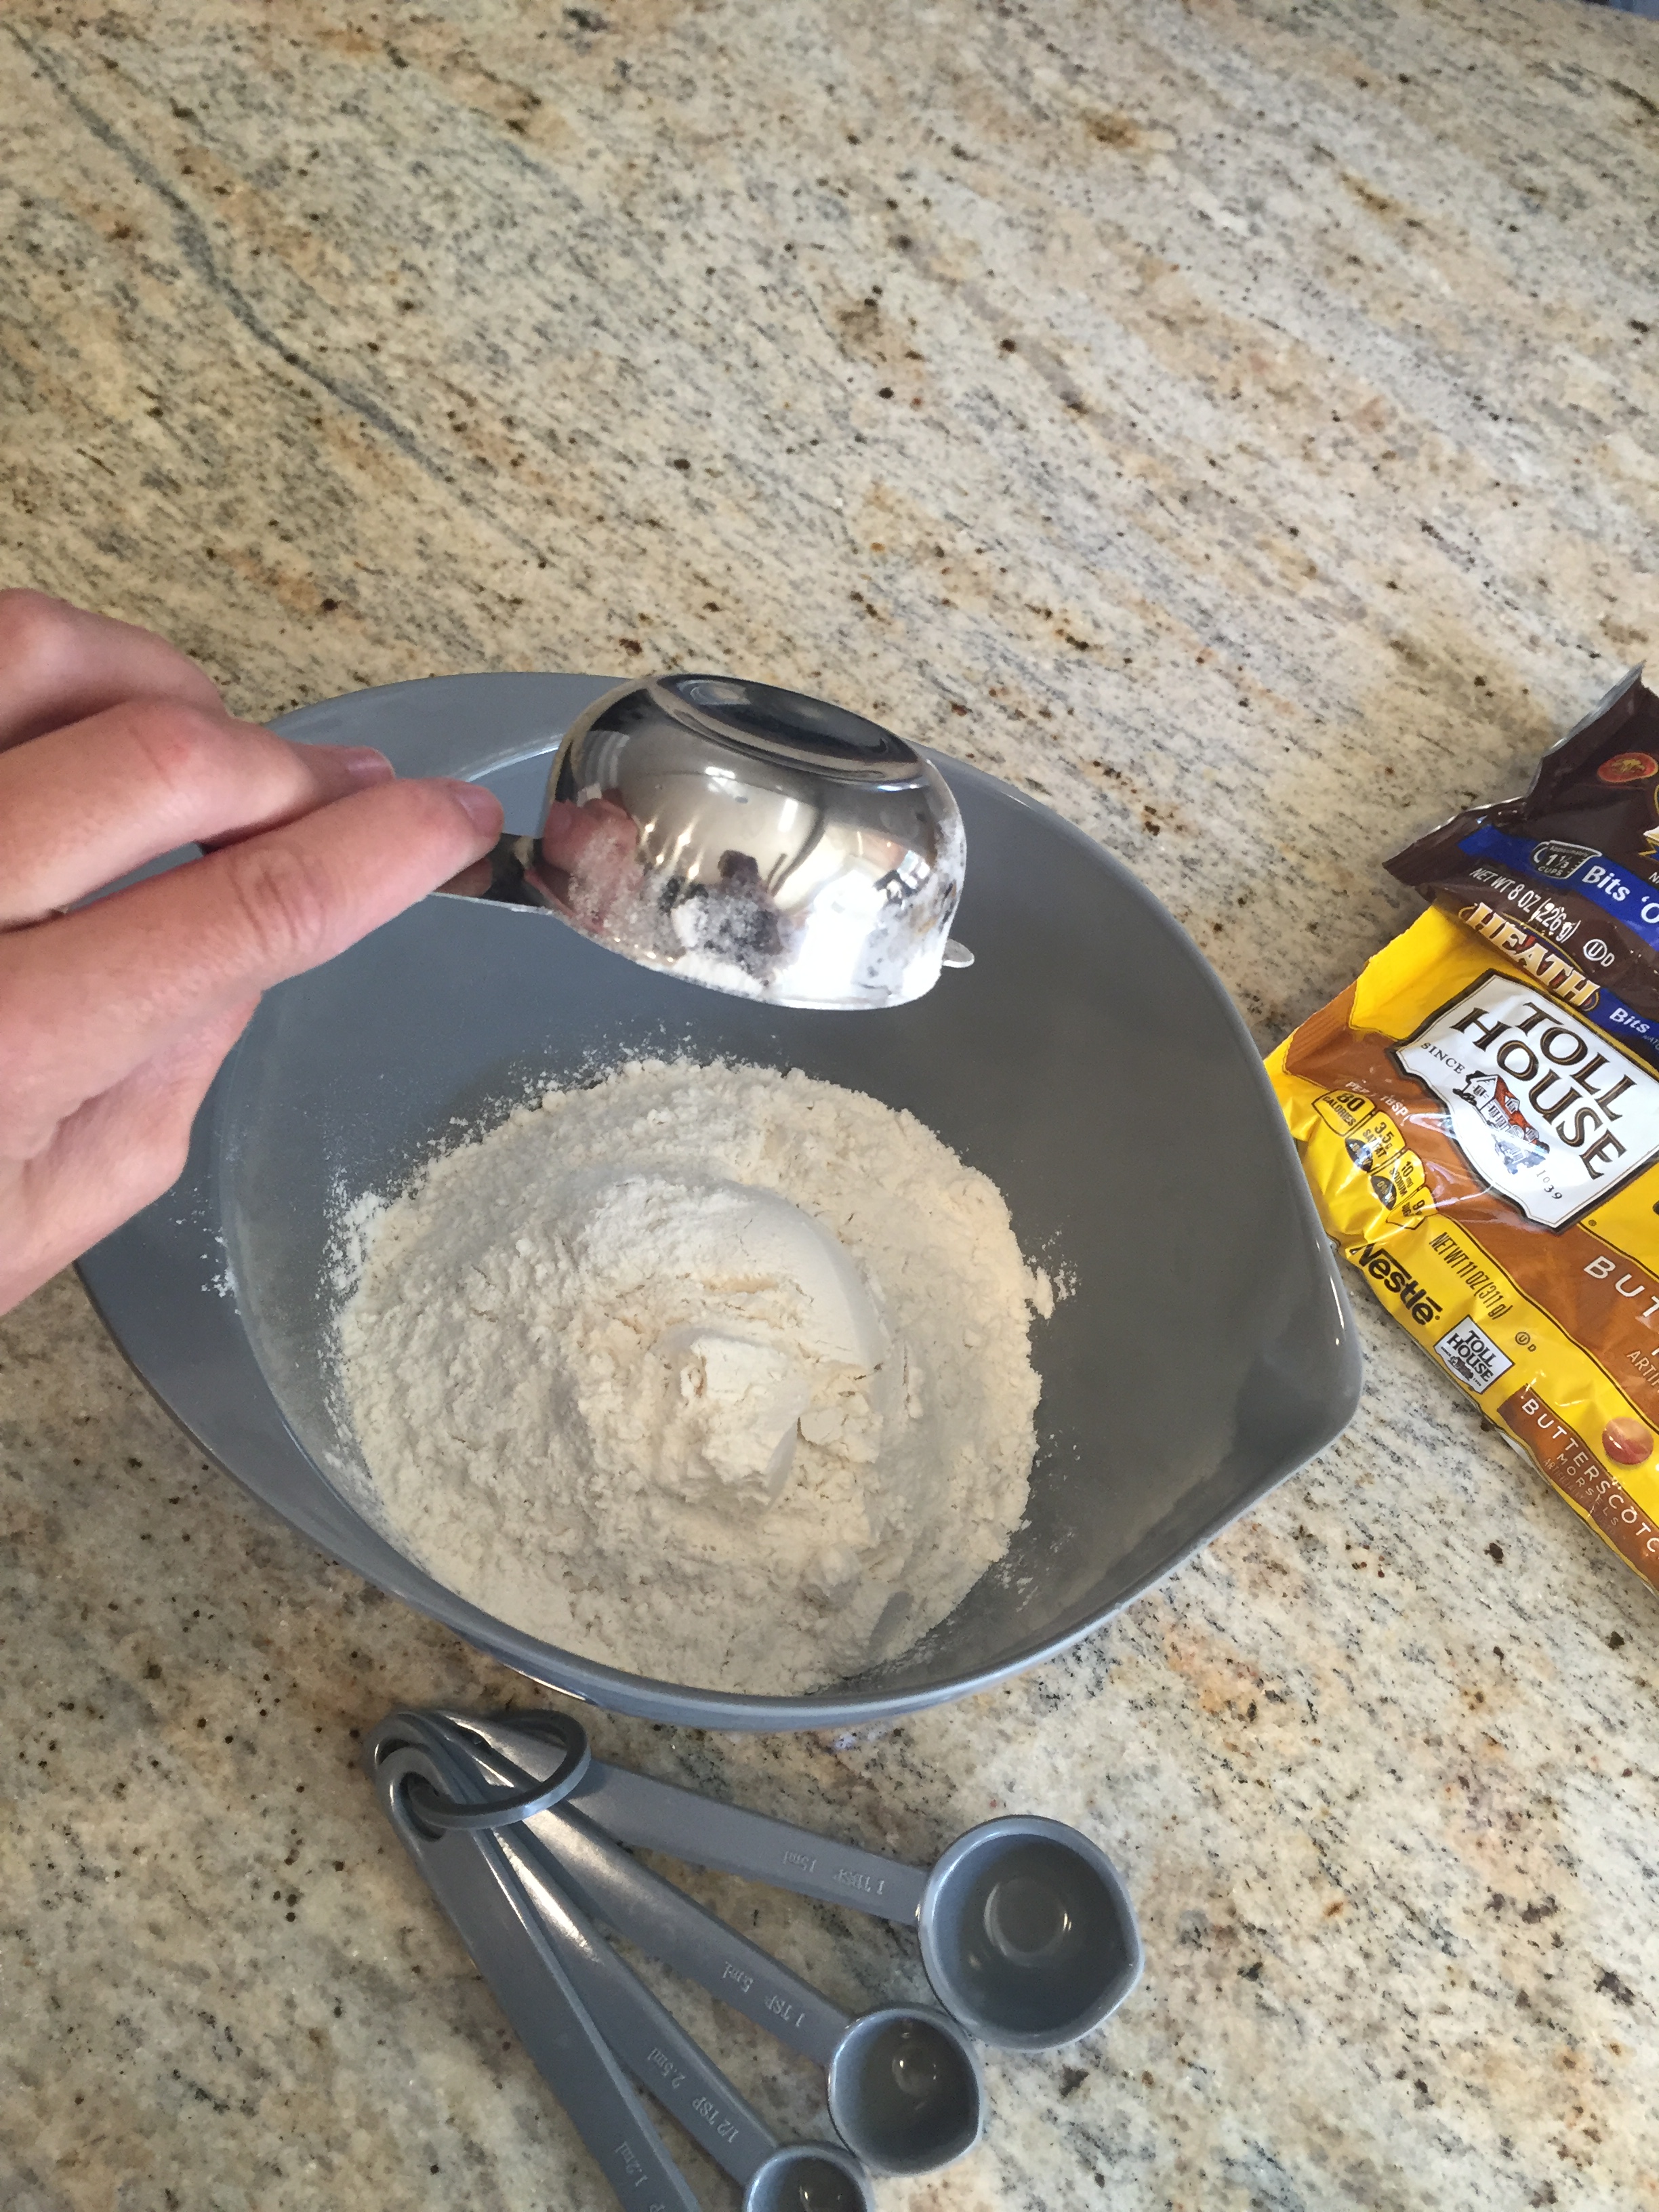
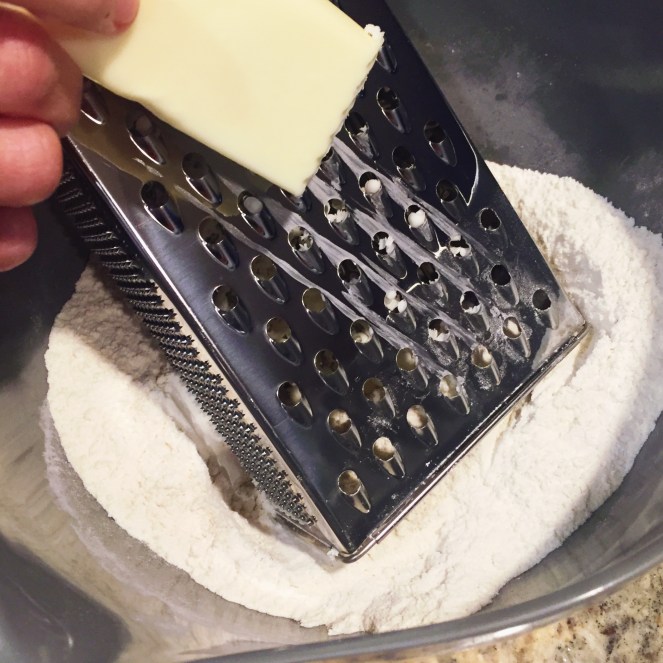
Using an electric mixer combine the butter, and sugars. Then add the eggs, and vanilla. Mix until blended.cookies 6

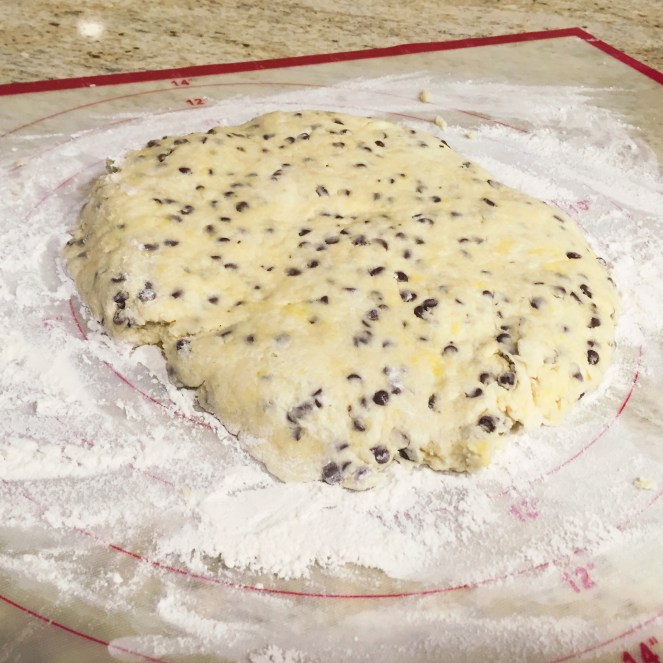
Slowly add, your bowl of dry ingredients, once everything is combined you can add your toffee bits, and butterscotch chips.cookies 5

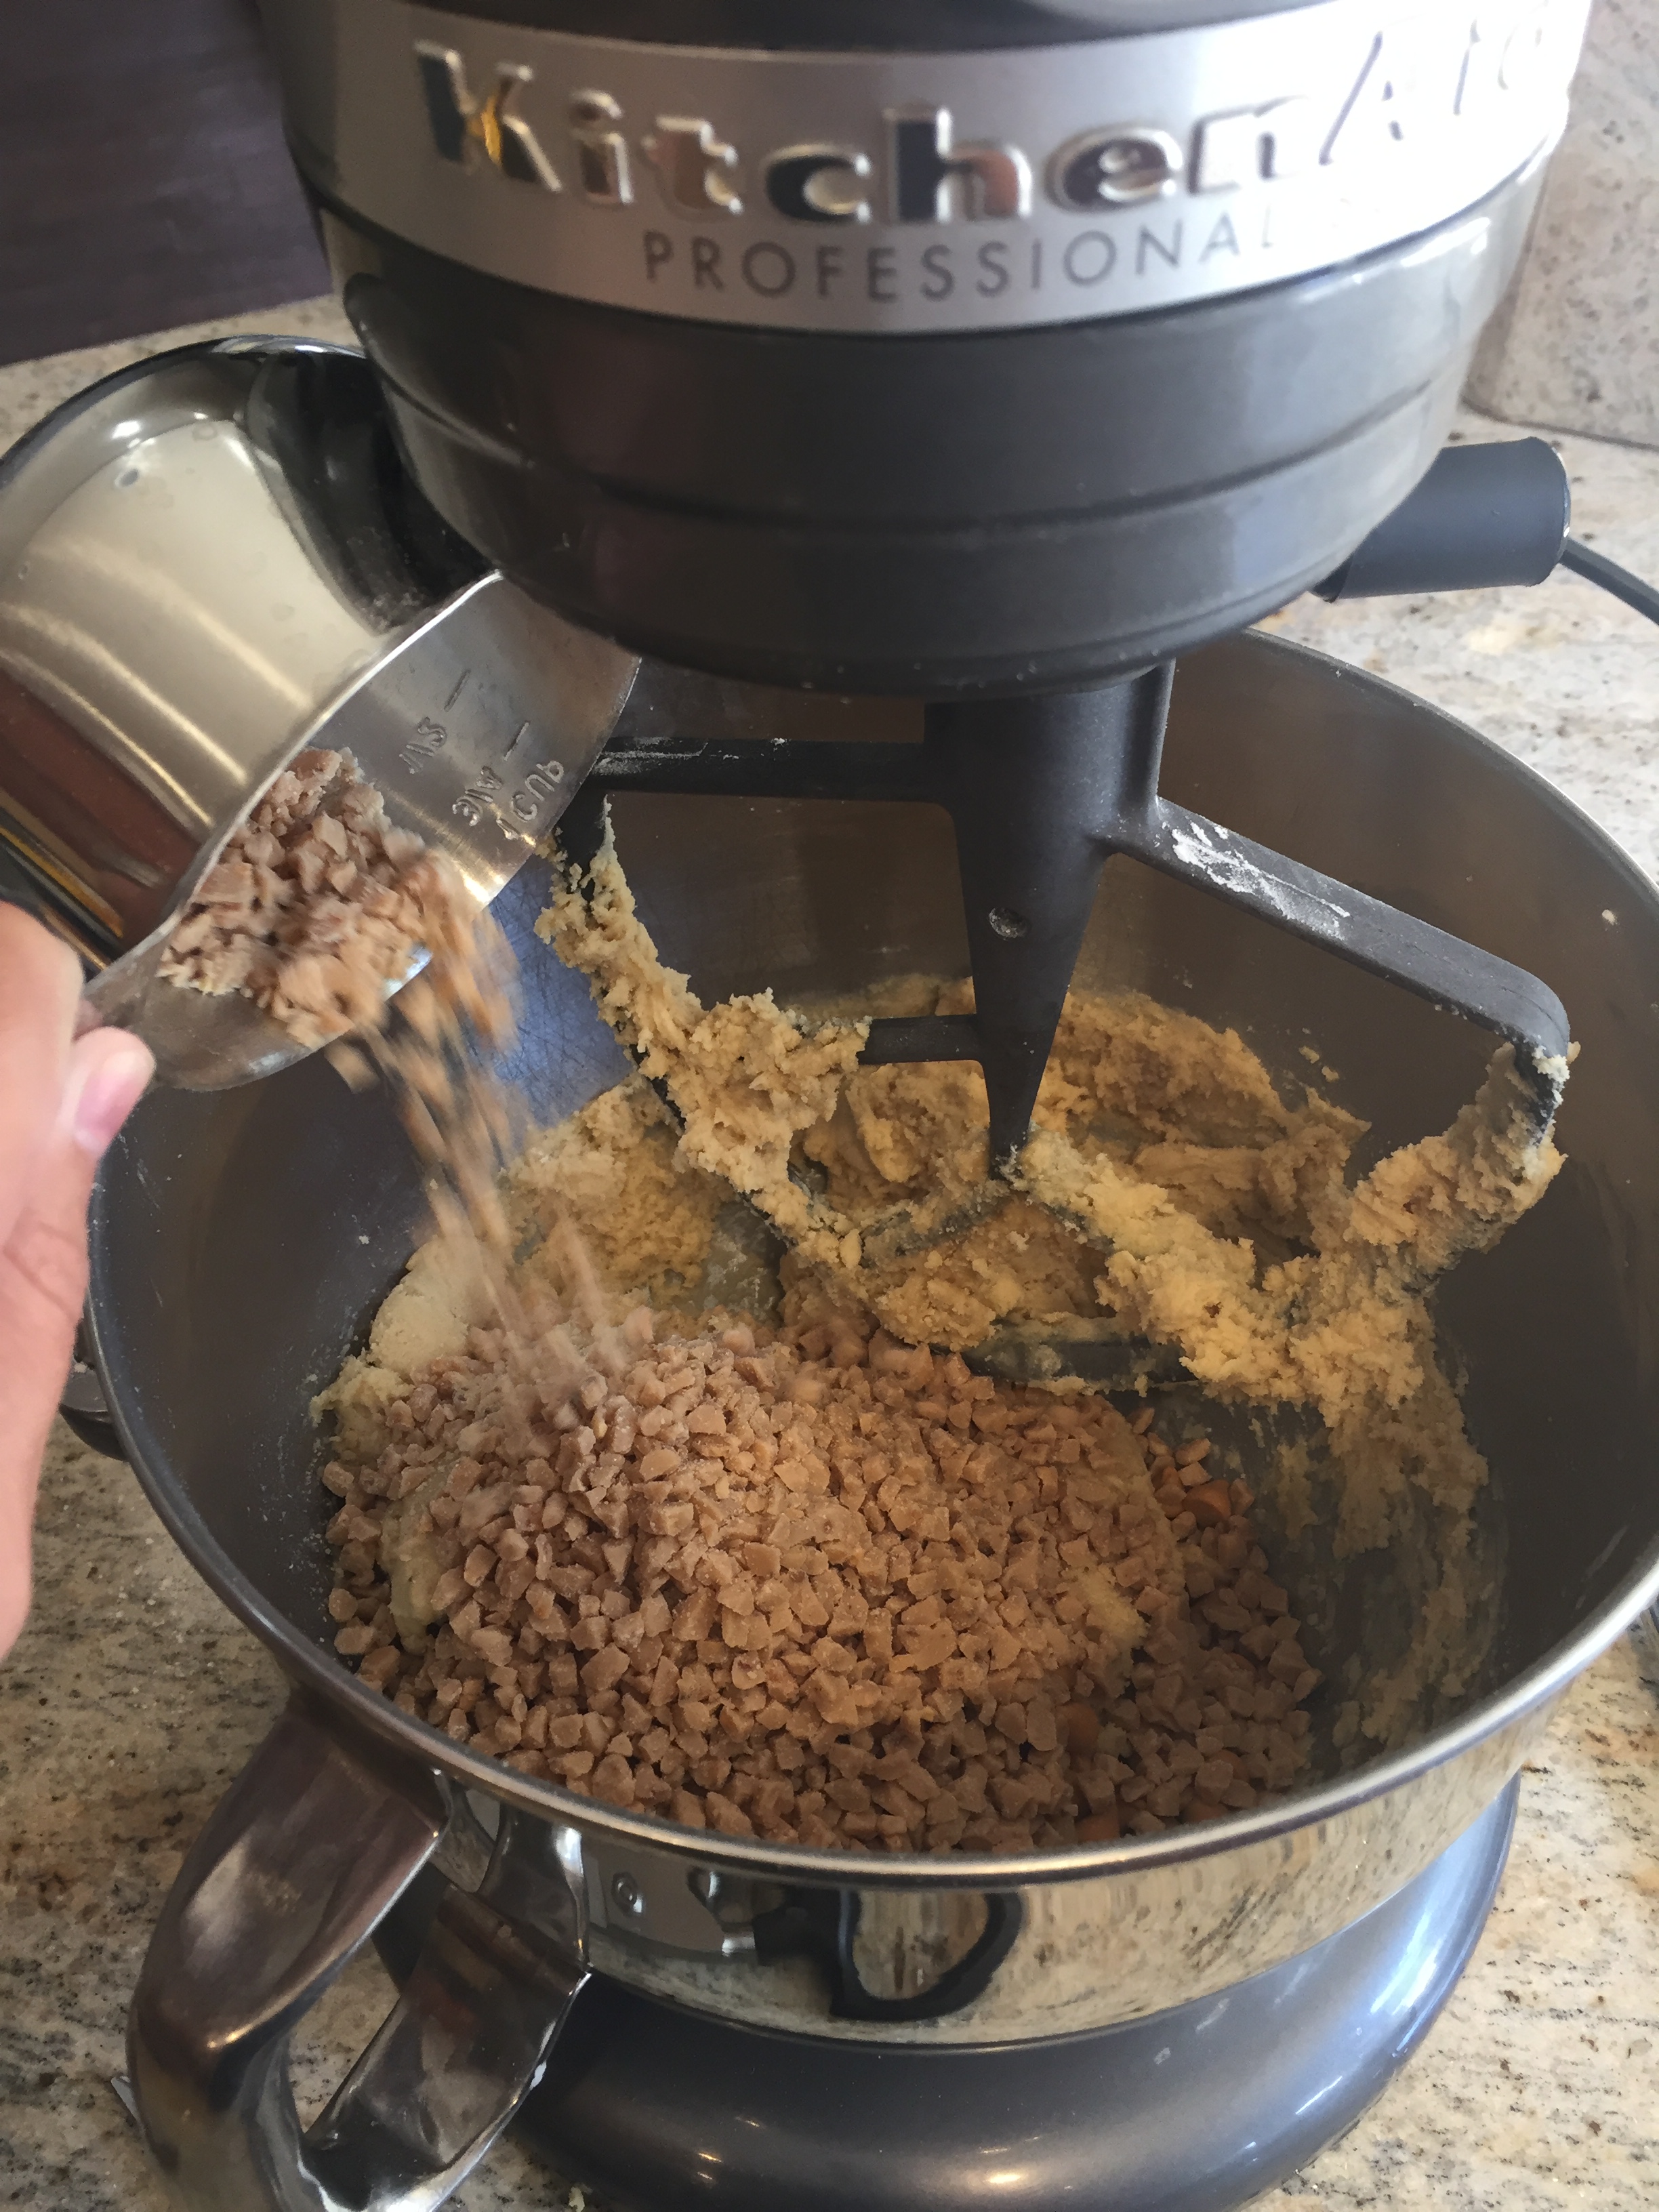
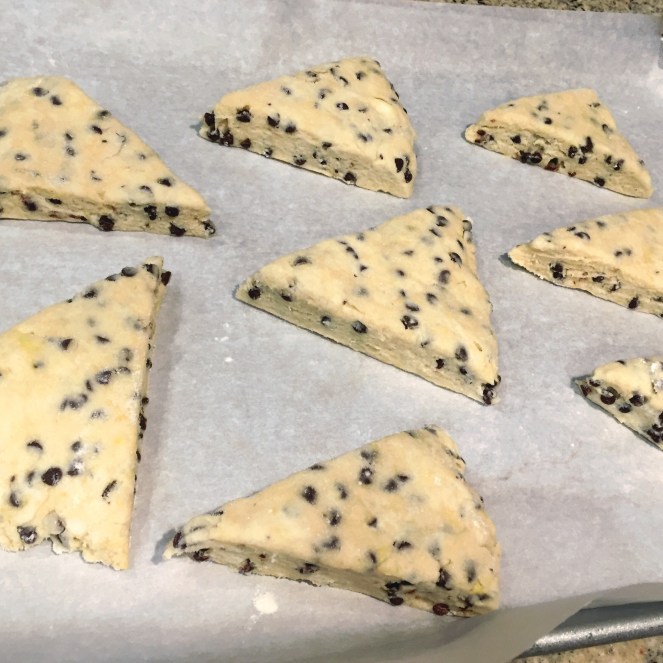
Using a spoon, or dough scoop place 12 balls of dough onto your baking sheet, 1-2 inches apart. Bake at 350 degrees for 8 minutes. immediately remove from pan and cool on parchment paper. The reason I say parchment paper instead of a cooling rack is because the toffee is hot and will stick.

cookies 3

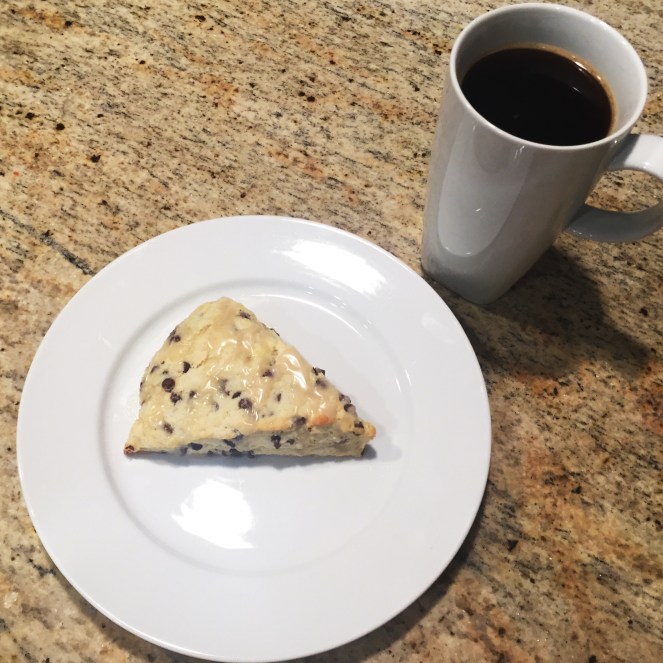
I hope you enjoy these as much as my family.

XO, Linda

Wookie cookies(toffee and butterscotch cookies)

  • Difficulty: easy
  • Print

Ingredients

2-1/4 C. All-purpose flour

1tsp. Baking soda

1 tsp. Corn starch

1/4 tsp. Salt

1/2 C. Salted butter, softened

1/2 C. Granulated sugar

1/2 C. Light brown sugar, packed

2 Large eggs

1-1/2 tsp. Vanilla extract

1 C. Toffee pieces

1 C. Butterscotch chips

Directions

Preheat oven to 350F

Combine flour, baking soda, cornstarch, and salt in a small bowl. Set aside.

In a large mixing bowl combine butter, and sugars. Mix until smooth. Add eggs, and vanilla. Mix until blended. Slowly add your dry ingredients. Once your dough is thoroughly combined add your toffee pieces, and baking chips.

Using a spoon or dough scoop place dough about 2 inches apart. Bake for 8 minutes. Remove from pan immediately onto parchment paper, and let cool.

Yields 3-4 dozen


Easy Envelope Pillow Covers

Today I’m going to share with you one of the easiest ways to make pillow covers. My new sofa had been needing some throw pillows to add a little color, and I also needed to make some for a party I was throwing. It was time to get out the sewing machine, and get to work. This tutorial is so simple anyone with a sewing machine can do it. This is an easy, and inexpensive way to add a fun pattern, or pop of color to your home decor.

Supply list:

  • Pillow form
  • Tape measure
  • Fabric scissors or cutting wheel
  • Pins
  • Thread
  • Sewing Machine
  • Iron

IMG_7782.jpg

First, I always suggest washing and ironing your fabric. This will allow for any shrinking that may occur, and it’s always easier to cut and sew on freshly pressed fabric.

Next step is doing the math. Don’t worry, it’s simple math. Whatever your width is add 1″. This will allow for a 1/2″ seam allowance on each side. Now you need to double your length and add  6″. This will give you a 1″ fold on both sides and a 4″ total overlap. The pillows I used for this project were 12″ x 12″. So for my width I did 12″+1″ = 13″ and my length (12″ x 2)+6″ =30″

Once you have cut your fabric to the appropriate size it’s time to start pinning. Begin by folding over your short sides 1/2″ and press, then fold over an additional 1/2″ press and pin. Hem each side.IMG_7785

Once your short sides have been hemmed, place your pillow form in the center of the fabric, and fold each side over. Make sure each side is lined up evenly and the fabric is close-fitting to the the pillow form. Pin both sides. IMG_7792IMG_7796

Now that the top is pinned, carefully remove the pillow form and pin the top to the bottom along the sides.

IMG_7800.jpg

Time to Sew, you have enough fabric to give yourself a 1/2″ seam allowance on both sides. Once you have hemmed both sides, trim any extra threads, turn right side out, and press. Insert your pillow form into the cover through the open flap in the back. Your project is complete!unnamed-1

This is such a fun, and easy way to change out your decor. I’m already thinking about flannel fabric for the holidays.

I hope this tutorial with clear, If you have any questions please feel free to leave them in the comments.

XO, Linda

Fire, evacuations, and food.

Once again Southern California is on fire. It’s been 6 very dry years, which has made fire season awful. This last week it hit a little too close to home. Not my home, but my best friend Ashley’s. The fire came fast, there was no warning, and right away everyone was on mandatory evacuation. So Ashley, her husband, their 5 year old daughter, 3 dogs, and 1 cat came to stay with us while they waited it out.

Lets see, with my family of 3, plus our 3 basset hounds, and I was also dog sitting for my dad.. That makes a total of 6 people, 7 dogs, and 1 cat all hanging out at my house. I was tripping over a lot more than bassets this week. Luckily we live on a good size piece of property so there was plenty of room for the dogs to run and play. Ashley and I have been best friends since high school, and we’ve been through plenty of highs and lows together. So when she called and asked to come to our house there was no hesitation. It was a pretty stressful situation. Watching the news and seeing how close the flames were coming was awful. But, we had to make the most of it. We filled our days with manicures, movies, and a ton of really good food. We really did make the most of a stressful situation, and thankfully our husbands and daughters get along really well too. After 4 days they were finally cleared to go home. The fire got as close as .8 miles from their house. We are incredibly thankful for all of the first responders that worked tirelessly to save our local communities.

Fun fact about Ashley’s husband Nick, he likes to cook and bake just as much as I do. Their first morning here he woke up and made scones for everyone. I was so excited to learn the recipe and now I’m going to share it with all of you! Hope you enjoy.

scones 7

I’ve never made a scone before, I think I’ve always been a little intimidated by them. Turns out they aren’t difficult at all. The recipe originally called for dried cranberries, but I didn’t have any on hand. I thought mini chocolate chips were a good alternative, I also decided to top it of with a simple vanilla glaze.

First mix all of your dry ingredients, then add the butter.

scones 2

Nick told me the trick is to freeze the butter and grate it instead of letting it soften. This made mixing a lot easier. Next add your chocolate chips, sour cream and egg. Once everything is thoroughly mixed together place the dough on a lightly floured surface and pat into a 7 to 8 inch circle about 3/4 inch thick. Sprinkle a little sugar over the top and cut into 8 triangles.

scones 8

Next place them on a parchment lined baking sheet. Bake at 400 for 12 minutes.

scones 5

While they are baking you can work on your powdered sugar glaze. It’s simple, and adds that little bit of extra sweetness. Once your scones have finished baking transfer to a cooling rack and drizzle the glaze over the top. Hope you enjoy them as much as we did.

scones 6

Chocolate Chip Scones

  • Servings: 8
  • Difficulty: easy
  • Print

Ingredients

2 cups all-purpose flour

1/3 cup sugar

1 teaspoon baking powder

1/4 teaspoon baking soda

1/4 teaspoon salt

8 tablespoons salted butter, frozen.

1/2 cup mini chocolate chips

1 large egg

Powdered sugar glaze:

1 1/2 cup powdered sugar

1 teaspoon vanilla extract

1 tablespoon milk

[/recipe-directions]

Directions

Preheat oven to 400 degrees.

In a medium bowl mix flour, sugar, baking powder, baking soda, and salt. Grate the frozen butter into flour mixture on the large holes of a box grater. Stir in chocolate chips, sour cream and egg.

Mix thoroughly then use your hands to form a large ball. Place on a lightly floured surface and pat down to a 7 to 8 inch circle about 3/4 inch thick. Sprinkle with sugar (optional). Cut into 8 triangles and place on parchment covered baking sheet. Bake at 400 degrees for 12 minutes, or until lightly golden in color. Immediately transfer to a cooling rack.

While Scones are baking whisk together your powdered sugar, vanilla extract, and milk. Drizzle over warm scones.


Hey Friends!

Hi Everyone, welcome to my blog! This is my very first post, and I’m a little nervous about it. So let’s just get right to it.

I’m Linda, and I reside in sunny southern California. I have been married to my husband for 11 years, and together we have a 9 year old daughter. We also have 3 basset hounds. Let me rephrase that… We have 3 extremely spoiled, lazy, and stubborn basset hounds. But oh how I love them.

mutts

So why start a blog? Well, for a while now family and friends have been telling me how great it would be. So, with a lot of encouragement I decided to go for it. I will be perfectly honest, I’m not exactly sure what I’m doing, but I know each post will get a little easier. I’m excited to share delicious recipes, fun crafts, awesome DIY projects, and of course basset hound photos with all of you.

This is a little about my life, taking it one project at a time, and trying to avoid tripping over a basset hound in the process.

XO,

Linda